The RayNeo Air 4 Pro has no battery and no operating system. It is a display, and it only works when something else feeds it a video signal. That makes setup simple — until it does not work, at which point most people are left staring at dark lenses with no idea why.
Almost every “my Air 4 Pro doesn’t work” problem comes down to one thing: the USB-C port on your device does not output video. This guide covers what works, what needs an adapter, and how to diagnose it.
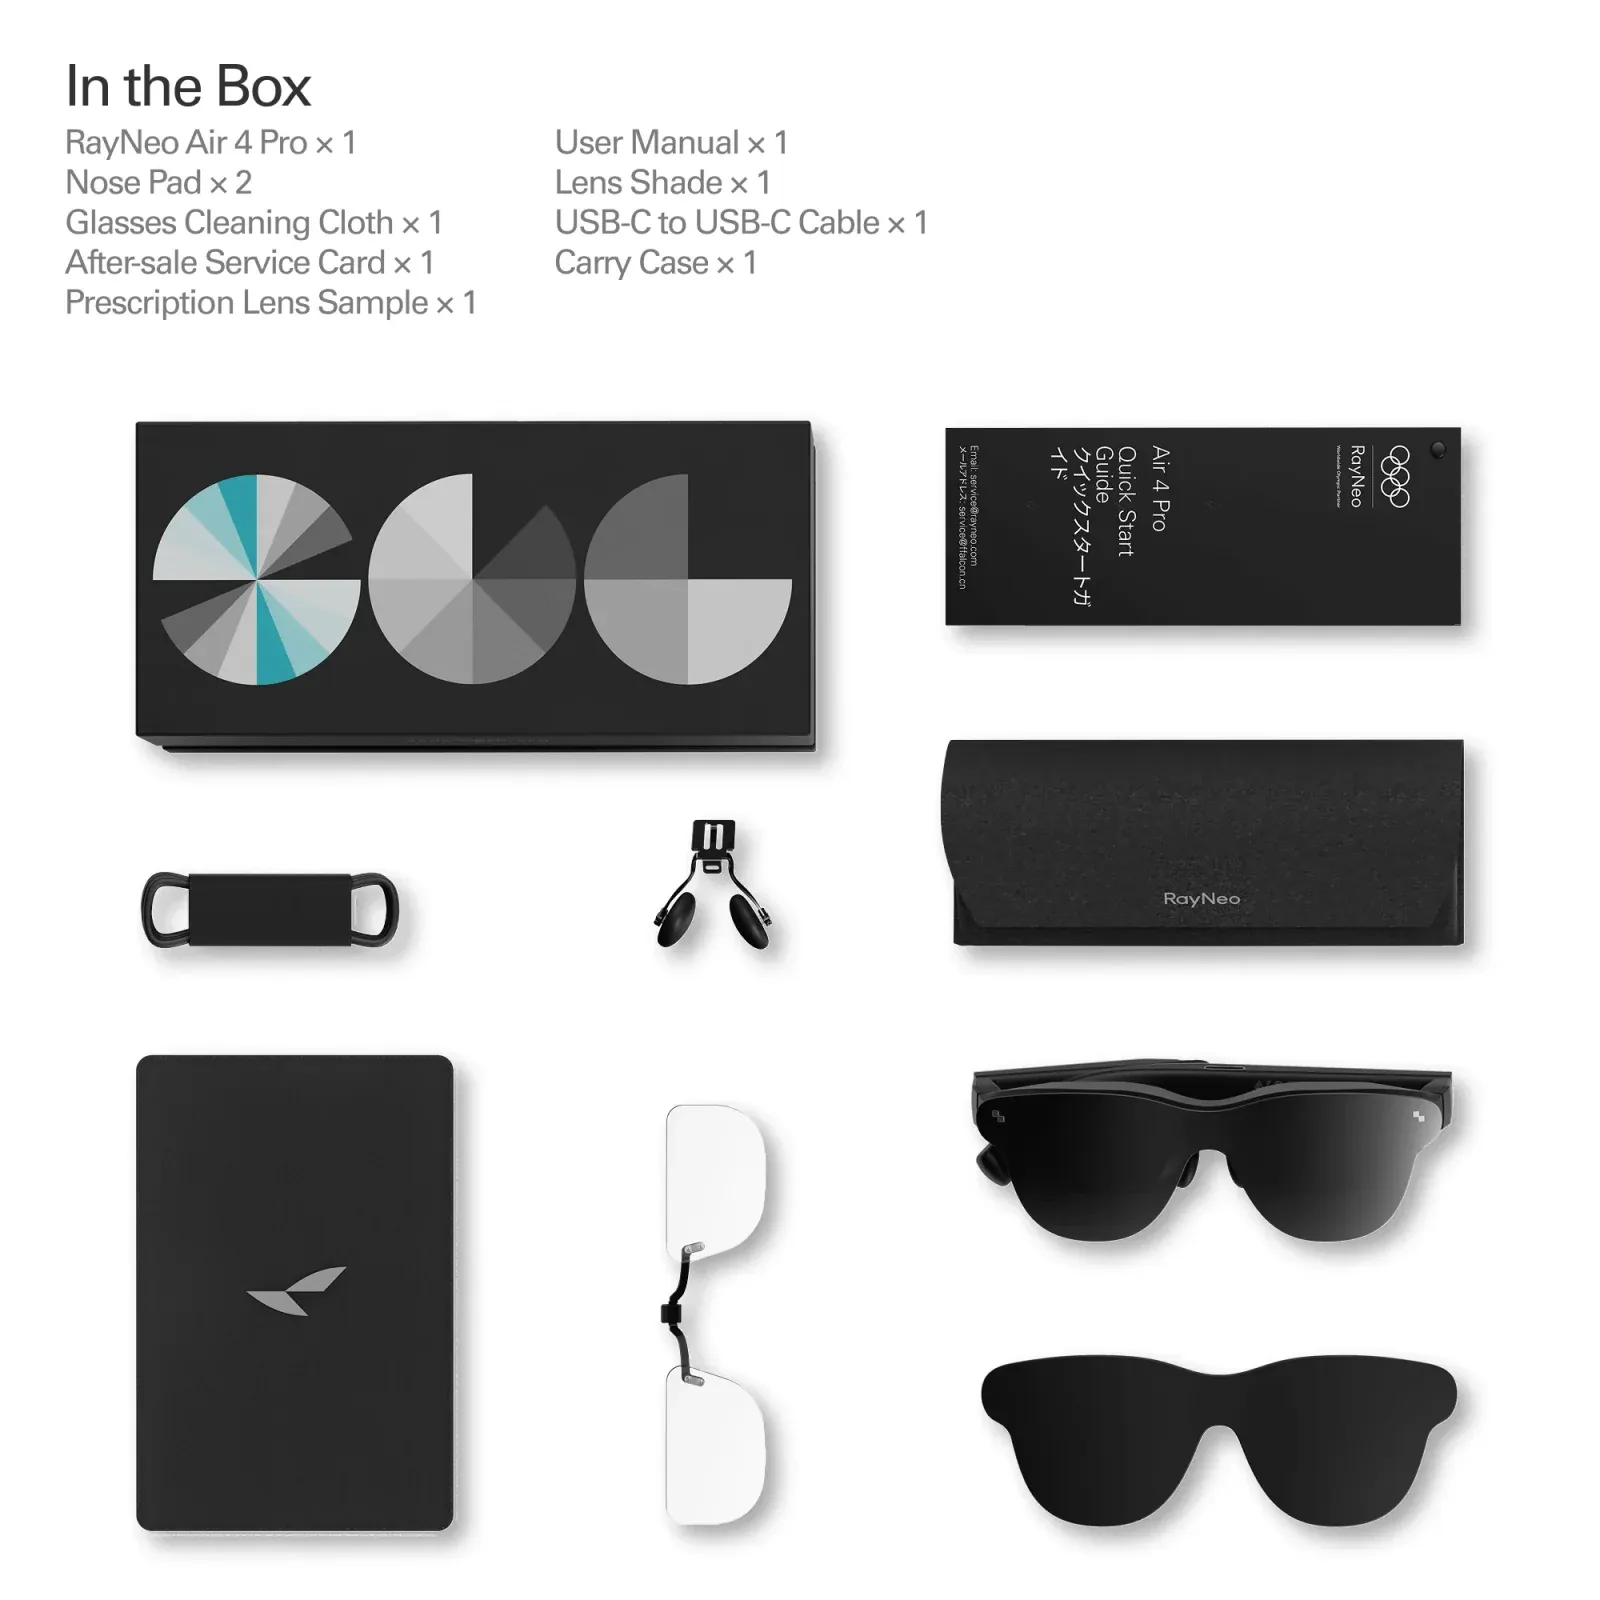 What ships in the box: the glasses, two spare nose pads, a cleaning cloth, the warranty card, a prescription lens sample, the manual, a light shield, a USB-C cable and a carry case. Image: RayNeo.
What the Air 4 Pro needs
The glasses require USB-C with DisplayPort Alt Mode. That is a specific capability, not a given — a USB-C port can carry power, data, video, or any combination, and plenty of ports carry only the first two.
A port that only does USB data and charging will not drive the Air 4 Pro. The glasses will appear to receive power (or not even that), and the screens stay dark.
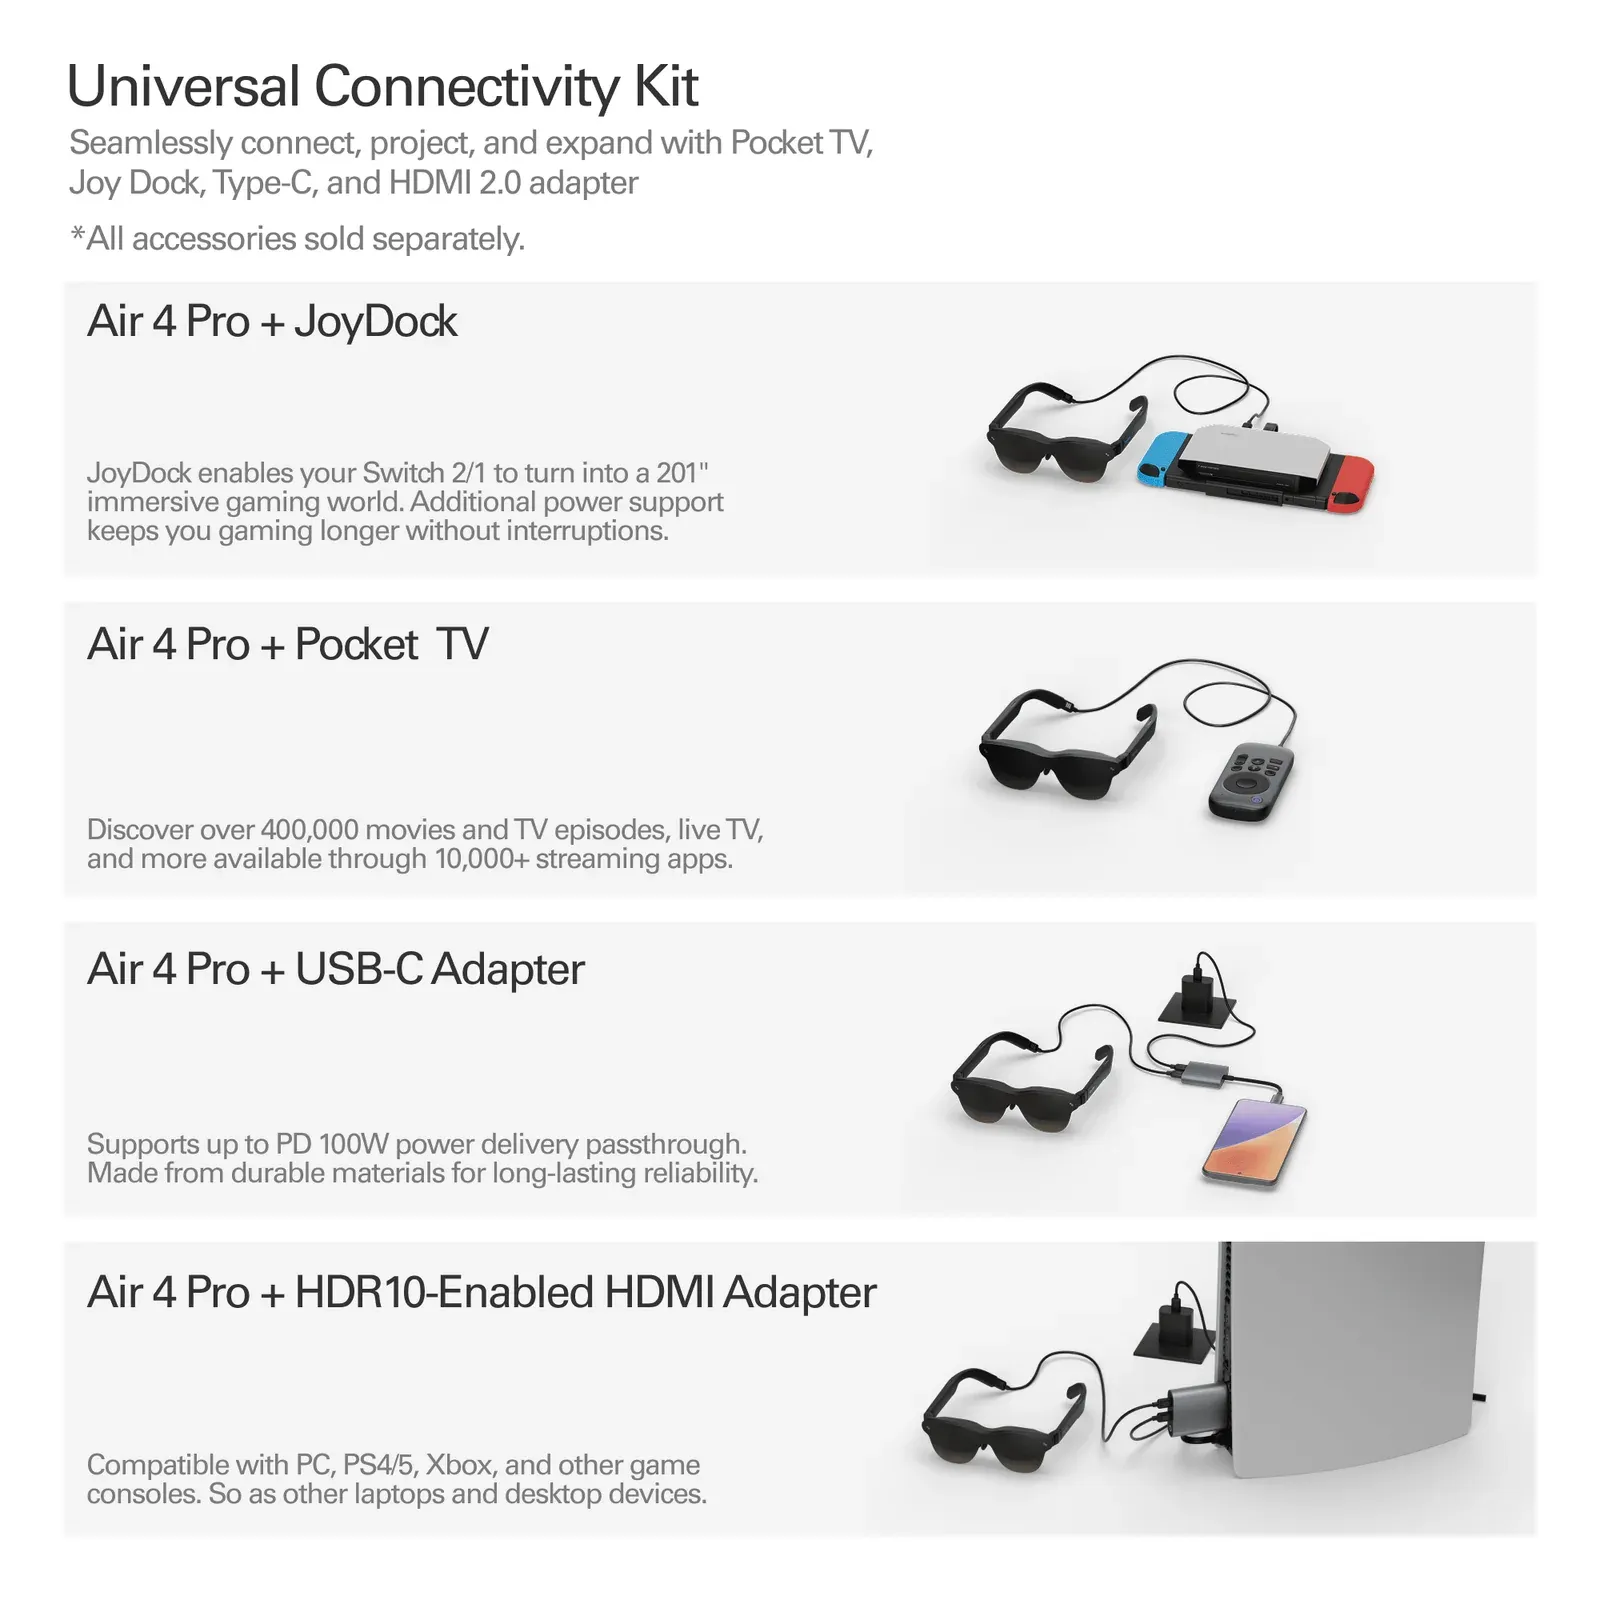 The three ways in: USB-C direct, Pocket TV over USB-C, and the HDMI adapter for consoles. Image: RayNeo.
USB-C is a connector, not a guarantee. The same physical port on two different laptops can have completely different capabilities. Check your device’s spec sheet for “DisplayPort Alt Mode” or “DP over USB-C”.
Direct connection: devices that just work
These connect with the included USB-C cable, no adapter needed:
| Device | Notes |
|---|---|
| iPhone 15 and later | Requires a USB-C iPhone; Lightning models need an adapter |
| Modern Android flagships | Samsung Galaxy S and Note series, Pixel, and most flagship Androids with DP Alt Mode |
| Mac | All Apple Silicon Macs and recent Intel models |
| Windows laptops | Those with a DP-capable USB-C port — check the spec sheet |
| Steam Deck | Works directly, and is one of the best uses for these glasses |
| Nintendo Switch 2 | USB-C video output supported |
Setting up with a Steam Deck
This is the Air 4 Pro’s killer app. Plug the glasses into the Deck’s USB-C port and the image appears immediately — no configuration, no app.
Two things worth knowing:
- Expect battery drain. The glasses are powered by the Deck, which already has limited runtime. Budget for a power bank.
- Enable 120 Hz. The Deck defaults to 60 Hz in many configurations. Setting the refresh rate to 120 Hz makes a visible difference to motion smoothness.
If you want to charge while playing, put a USB-C hub or the RayNeo JoyDock between the Deck and the glasses — the Air 4 Pro supports up to 100 W PD passthrough.
Setting up with an iPhone
Connect directly to a USB-C iPhone and mirror or extend the display. Note that some apps — Netflix and other DRM-protected streaming services — block external display output on iOS. This is a platform restriction, not a fault with the glasses.
HDMI devices: you need the adapter
Consoles and older computers output HDMI, not USB-C video. For these you need the RayNeo HDMI Adapter (or a third-party equivalent).
| Device | Connection |
|---|---|
| PlayStation 4 / 5 | HDMI adapter |
| Xbox Series X / S | HDMI adapter |
| Nintendo Switch (original) | HDMI adapter via dock |
| Desktop PCs | HDMI adapter, or a GPU with USB-C output |
| Older laptops | HDMI adapter |
The adapter is sold separately, or bundled for $339 instead of the standalone $299. If you own a console, buy the bundle.
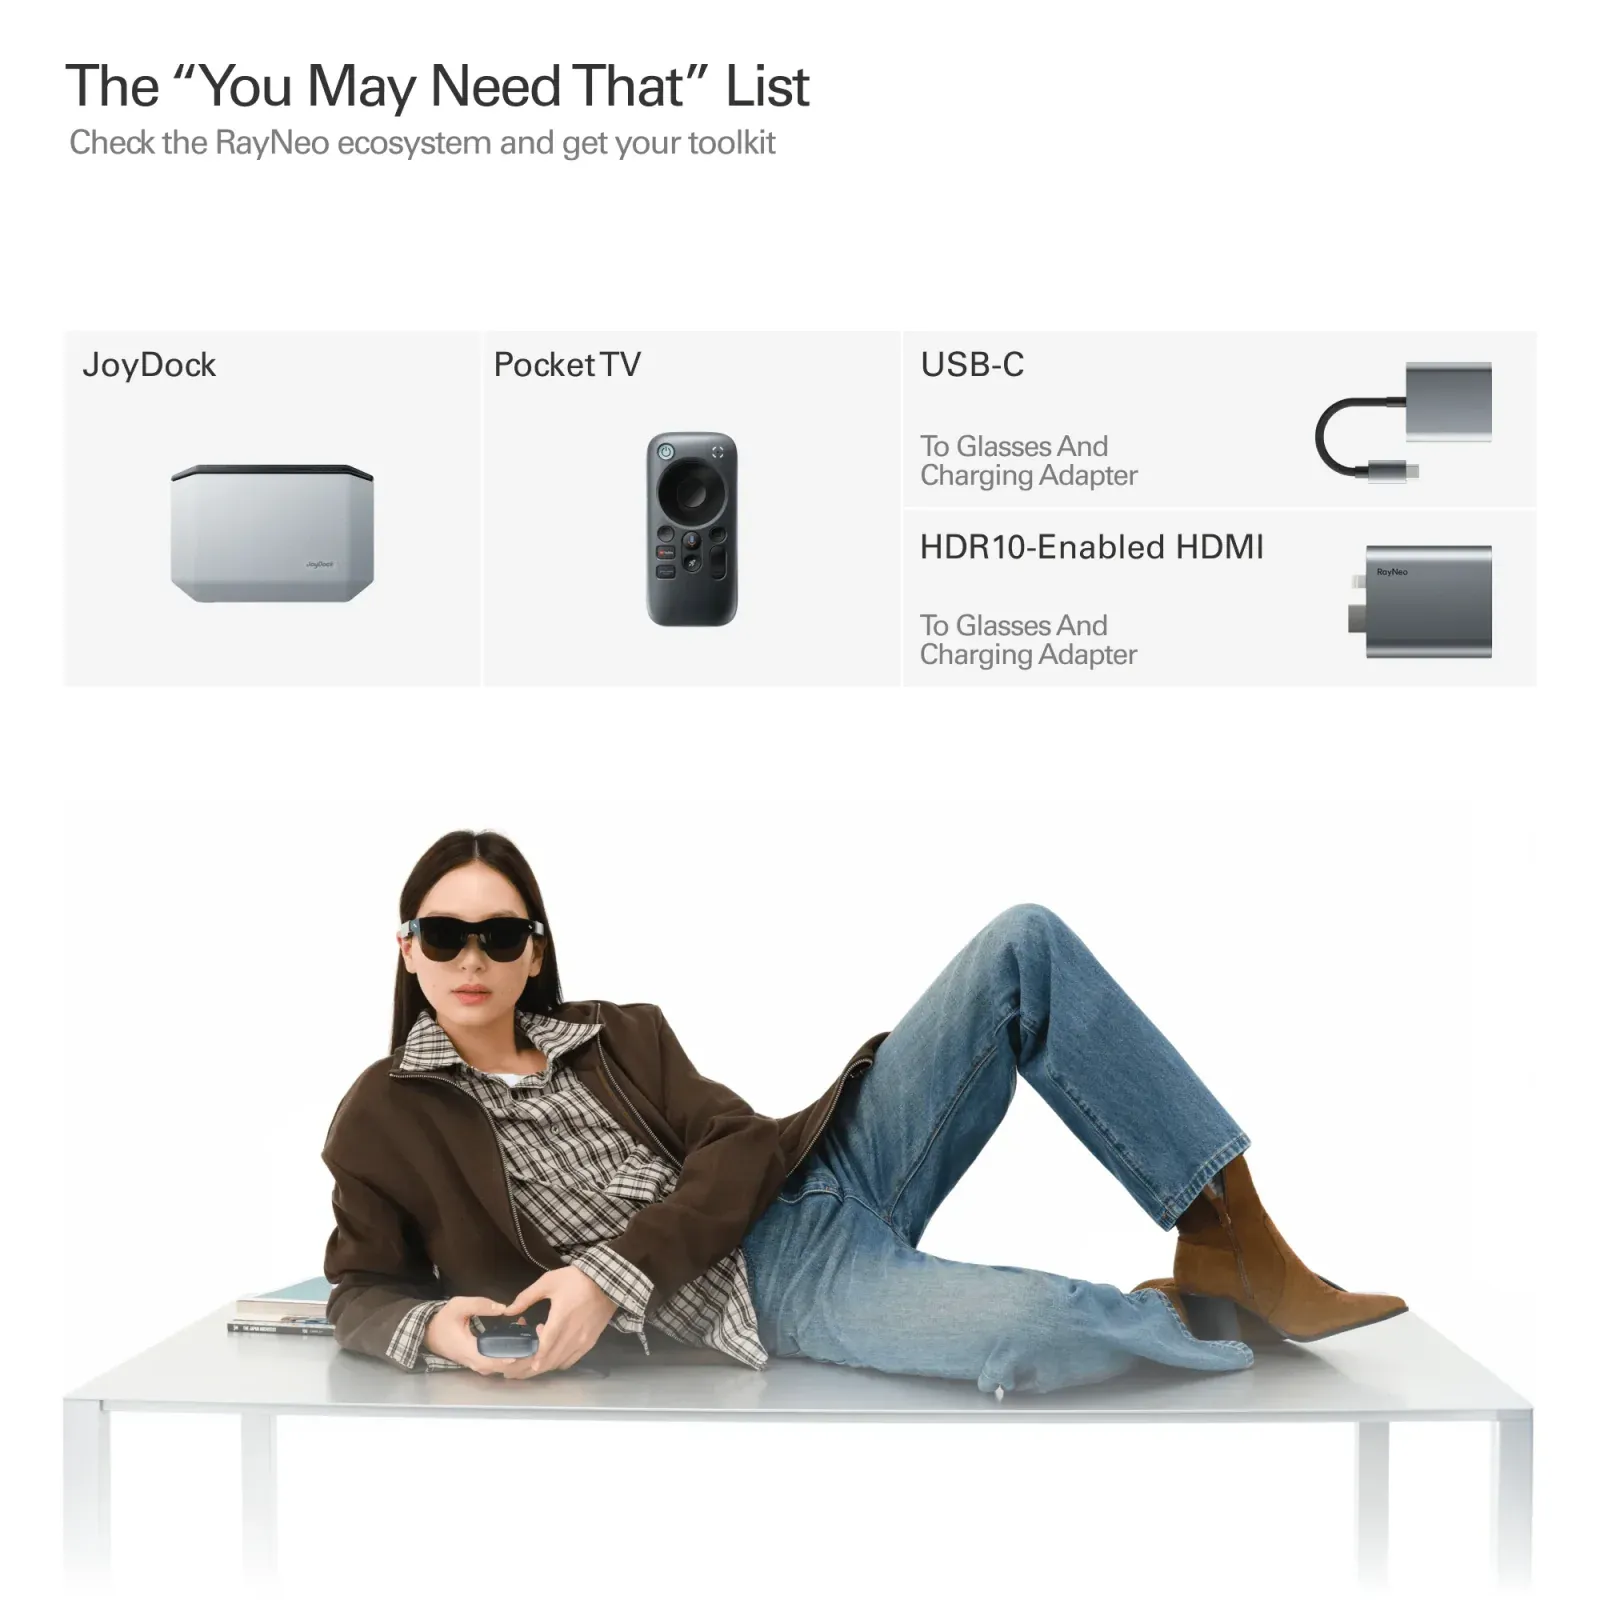 The adapter ecosystem: JoyDock, Pocket TV, the USB-C adapter and the HDR10 HDMI adapter. Image: RayNeo.
For console use you will also want the optional Sound Tube accessory. The Air 4 Pro’s speakers are good, but consoles are usually played at a distance and in a room with other people — the Sound Tube routes audio to your ears and cuts leakage by up to 80%.
Troubleshooting
Nothing appears on screen
Work through this in order:
- Confirm the port outputs video. This is the cause roughly nine times out of ten. A USB-C port that charges your phone but has never driven a monitor will not drive these glasses.
- Try a different cable. Some USB-C cables are charge-only and carry no video lanes at all. Use the cable in the box.
- Check the connection is fully seated. The Air 4 Pro’s connector is recessed; it needs a firm push.
- Test the source with a normal monitor. If your laptop will not drive a regular external display over USB-C, it will not drive the glasses either.
The image is blurry at the edges
The centre is sharp but the corners are soft. This is a fit problem, not a defect — the Air 4 Pro has a relatively small 14 × 7 mm eyebox, so your pupils need to sit inside a specific volume.
Adjust the nose pads through their three positions and change the temple tilt until the full rectangle is centred and even. Small movements make a large difference. See the prescription lens and fit guide for a fuller walkthrough.
Only one eye is blurry
Almost always a seating issue rather than an optical one. Check the frame sits level on your face, then remove and reseat any prescription inserts — they can sit fractionally off-centre after being swapped.
HDR is not working
HDR10 requires the whole chain to support it: the source device, the operating system, the app, and the content itself. A laptop that outputs SDR will produce an SDR image no matter what the glasses can display.
Check that HDR is enabled in your display settings. Note that the Vision 4000 chip’s SDR-to-HDR conversion is a separate feature — it works on SDR sources and is enabled through the RayNeo app, and it is not the same thing as native HDR playback.
The screen is too bright at night
Use the on-device brightness controls or the RayNeo app. The Air 4 Pro offers 20 brightness levels and several presets — Standard, Game, Movie, Eye Protection, Professional and Vision Boost. Eye Protection mode reduces blue light and is the one to use for late-night viewing.
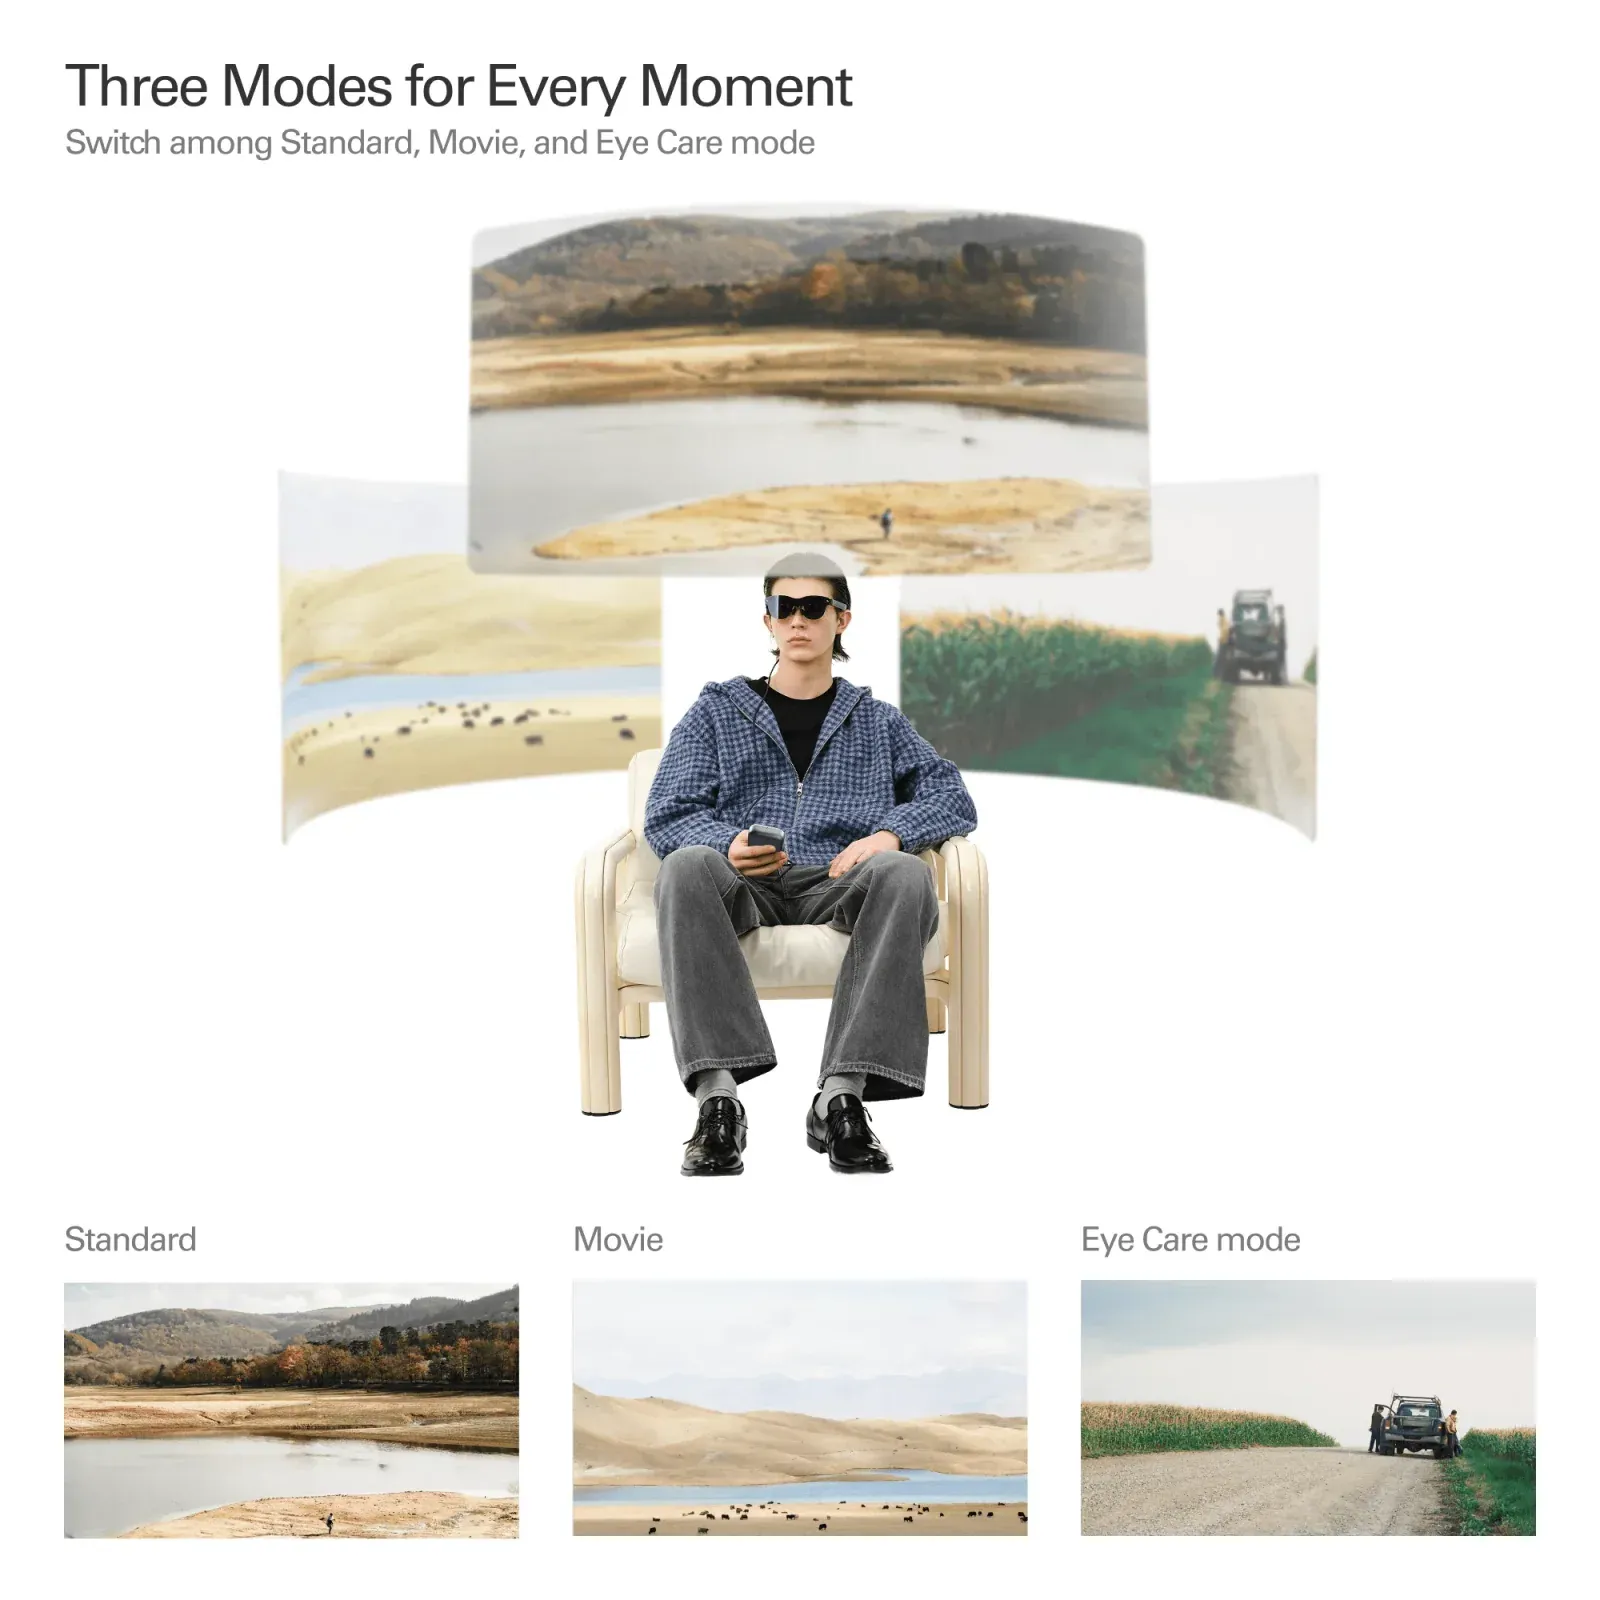 The three picture modes — Standard, Movie and Eye Care — swap the tone curve rather than just the brightness. Image: RayNeo.
Do you need the app?
No, not for basic use. Plug in and the glasses act as an external display with no software required.
The RayNeo Air Series App adds one-click 2D-to-3D conversion, ultrawide display optimisation, brightness presets and firmware updates. Worth installing eventually, but not a prerequisite for getting a picture.